You can simply set up the initial settings so that “CloudSign MAKE for kintone” creates forms and enters email addresses automatically based on information in kintone such as customer information or product information, providing a seamless way to conclude contracts with business partners.
The steps for the default settings are as follows.
Contents
Clicking the link in the email sent from our sales staff will bring up a page as shown in the image below, so please download each of the three files.
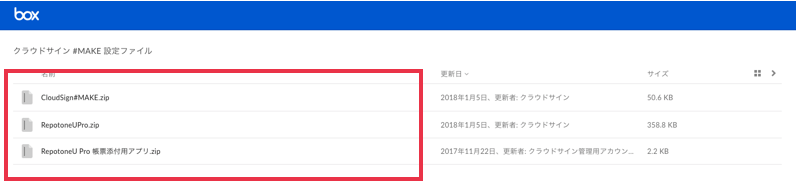
Save the downloaded files in their original zip format, without unzipping them.
After you finish downloading the files, log into kintone with an account that has kintone administrator rights.
1. After logging into kintone, click the gear symbol at the top right of the screen and select “kintone system management”
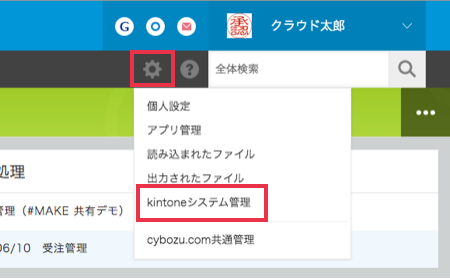
2. Select “Plugins” in “kintone system management.”

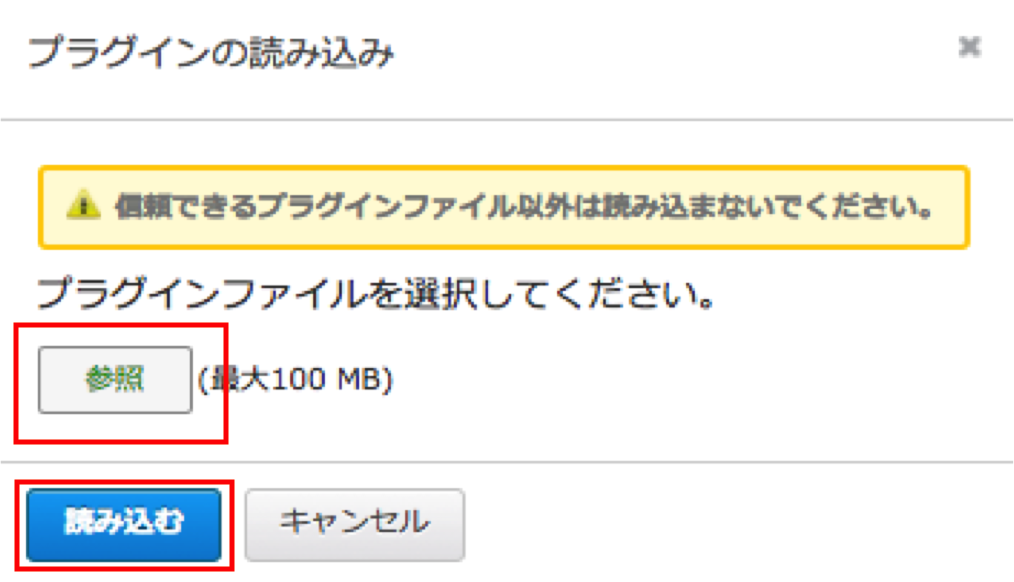
3. Select “Import” at the top left of the screen.
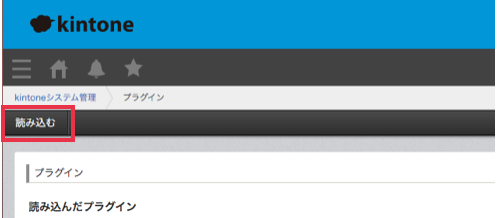
4. Click “Browse” to select the “CloudSign MAKE for kintone” and “Repotone U pro” ZIP files you downloaded above to import them.
* The “Repotone U pro form attachment app” will not be used for these initial settings.
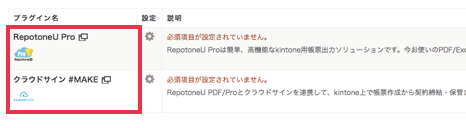
5. “CloudSign MAKE for kintone” and “Repotone U pro” will beare displayed in the Plugins screen.
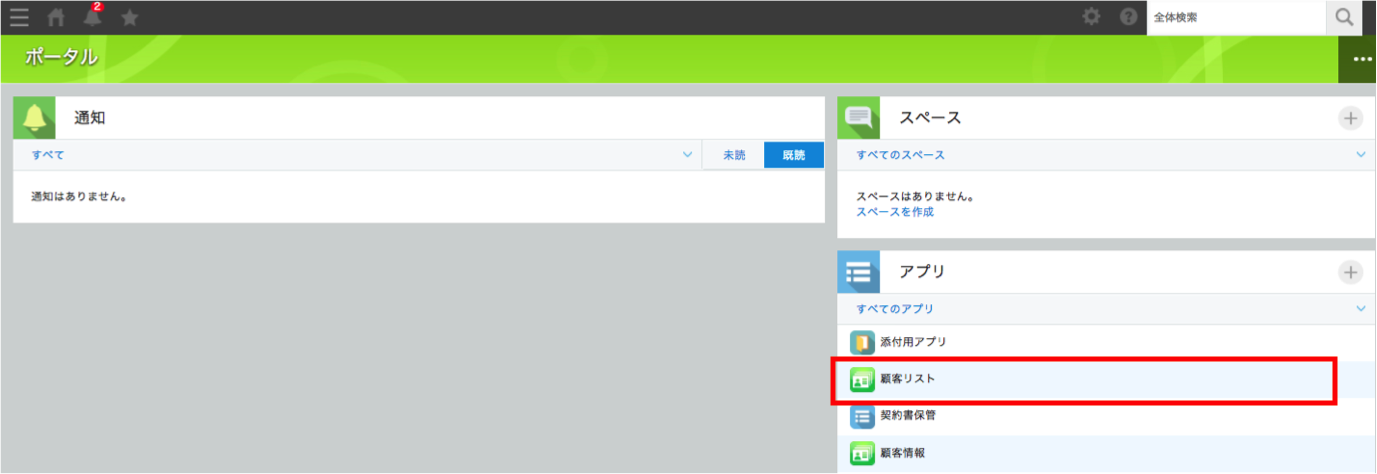
1. In the kintone portal screen, select the application that will use CloudSign MAKE for kintone.
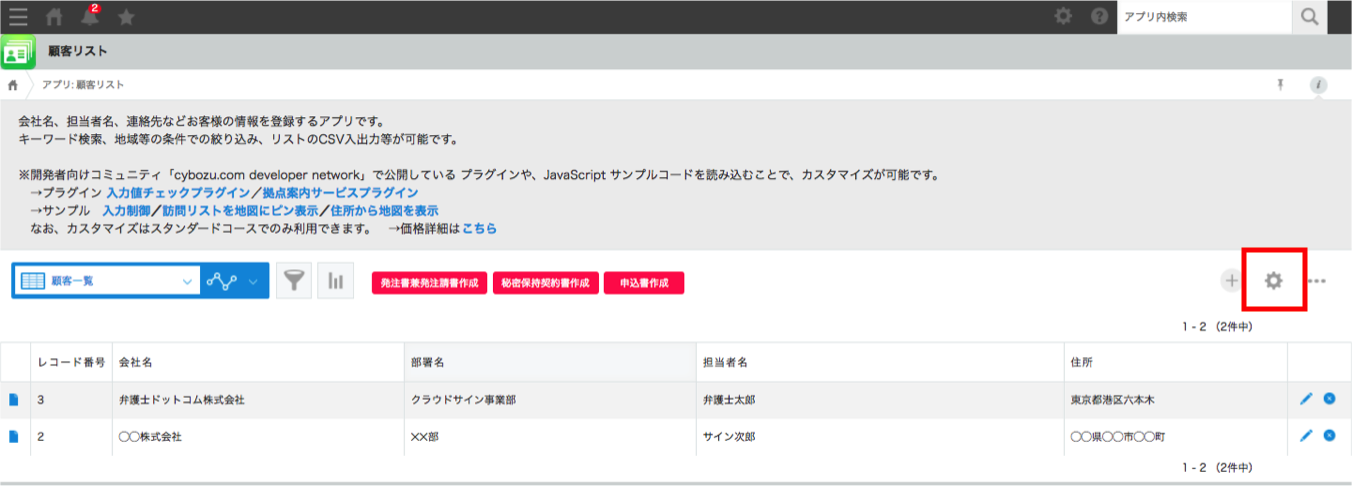
2. Select the gear symbol on the right of the application screen.
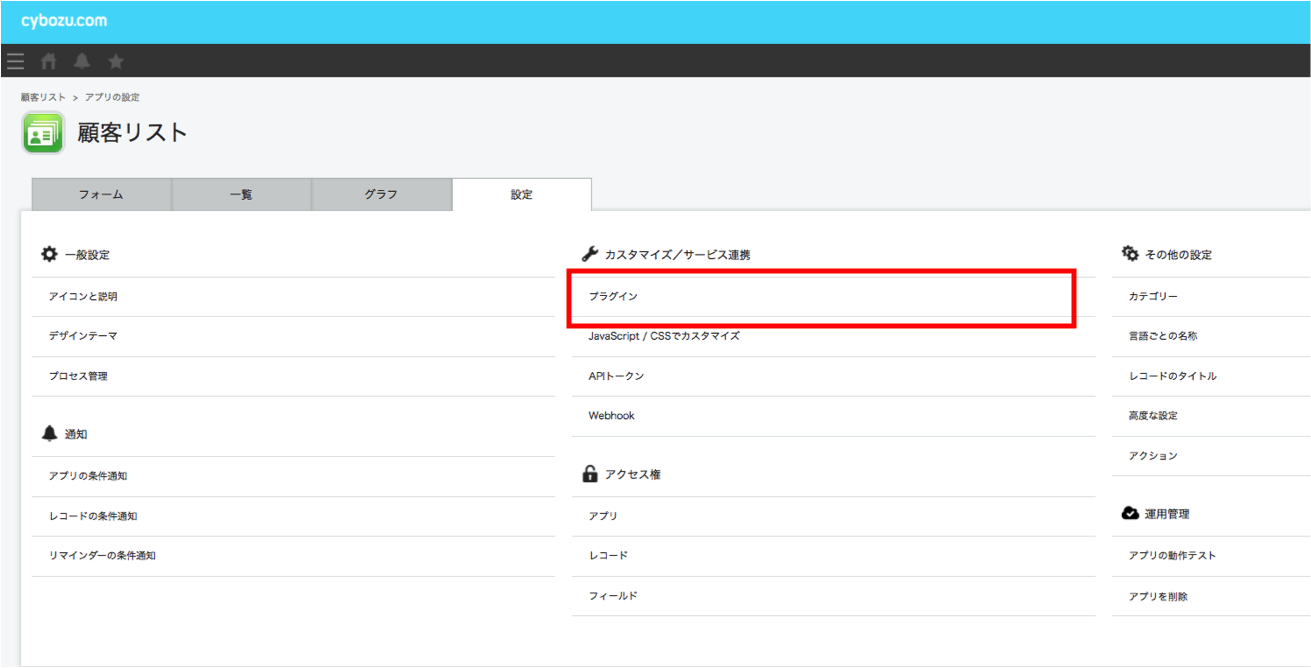
3. Click “Settings” and from the “Customize/Service linkage” select “Plugins.”
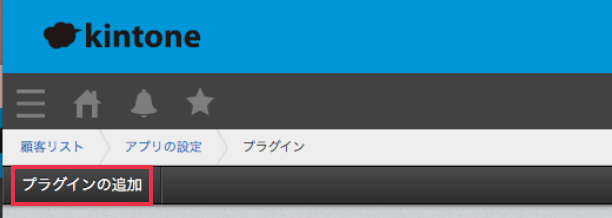
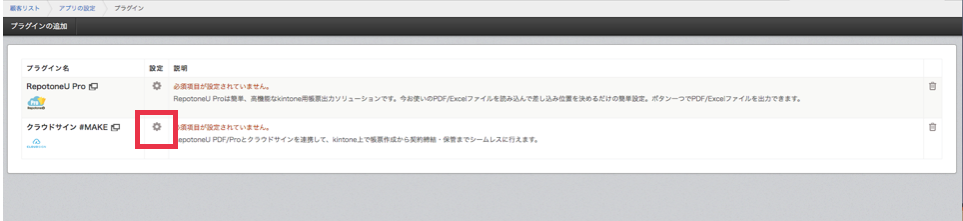
4. Click Add plugin, and select “CloudSign MAKE for kintone” and “Repotone U pro” to add them.
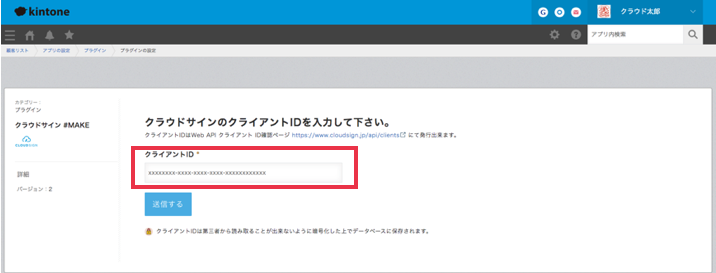
Select “CloudSign MAKE for kintone” settings and enter your client ID to enable use of CloudSign MAKE for kintone functions.
Note that a client ID is issued by logging into CloudSign then clicking “Go to Management Screen” and selecting “Client ID” from “Settings” on the left side of the screen.
In the App settings screen, click “Update app” to save the settings.
* Please be aware that settings must be configured for all plugins of apps using CloudSign MAKE for kintone.