Using the “Contacts” function allows you to load “recipients registered in advance” when sending documents.
This reduces the time and effort required to enter the same recipient information numerous times when sending multiple documents to the same recipient, like in the following cases.
-
Ongoing trade with the same business partner
-
Always include your superior when sending documents to a business partner
Operation method
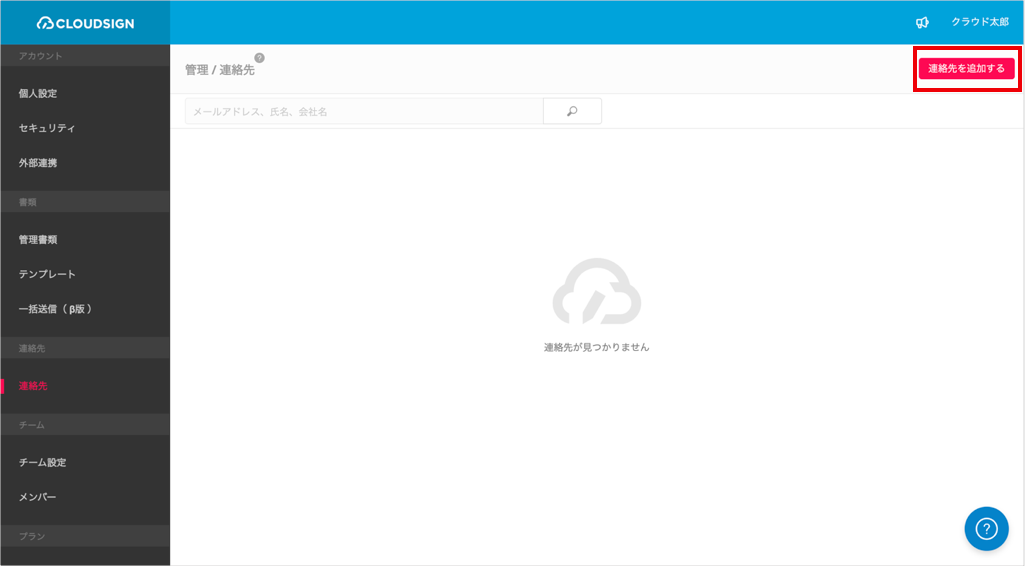
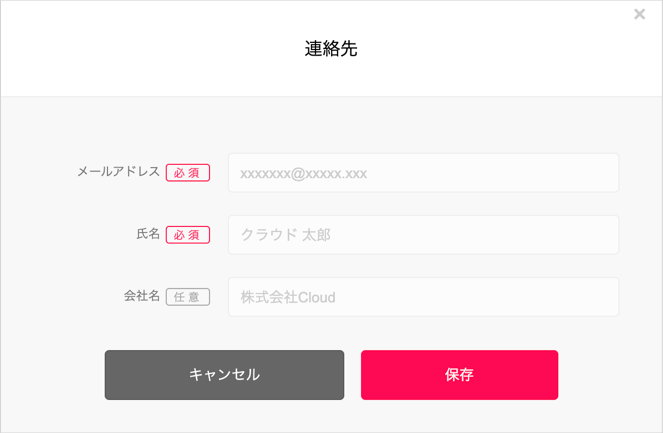
Registering new contacts
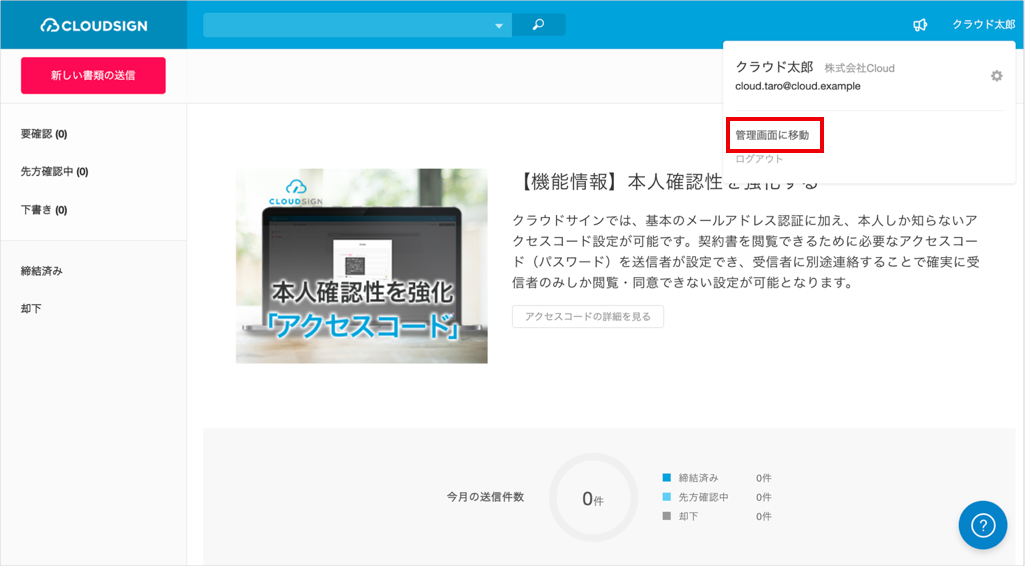
1. Click your name at the top right → click “Go to Management Screen” to enter the Management Screen.
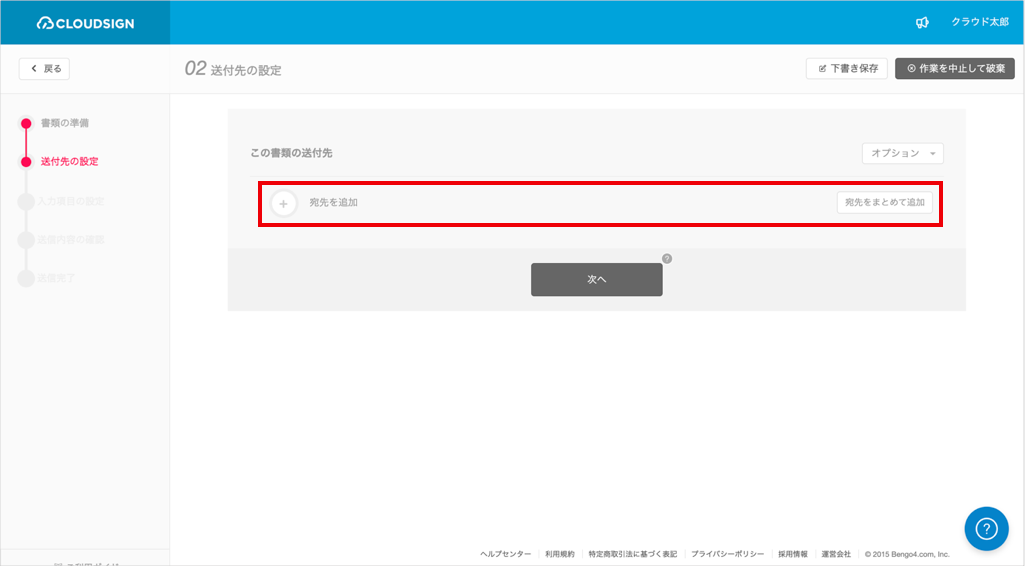
Selecting contact when sending documents
02 Specify routing order > Add recipient
Contacts you have registered can be searched and selected when specifying recipients.
Precautions
-
Information of recipients to which you have previously sent documents is automatically added to “Contacts.”
-
Contacts you have already registered can be edited or deleted using “Edit” or “Trash” shown on the right of the applicable contact.