Send documents that you want another party to conclude an agreement for. The steps for sending documents are as follows.
Contents
Operation method
Video of steps
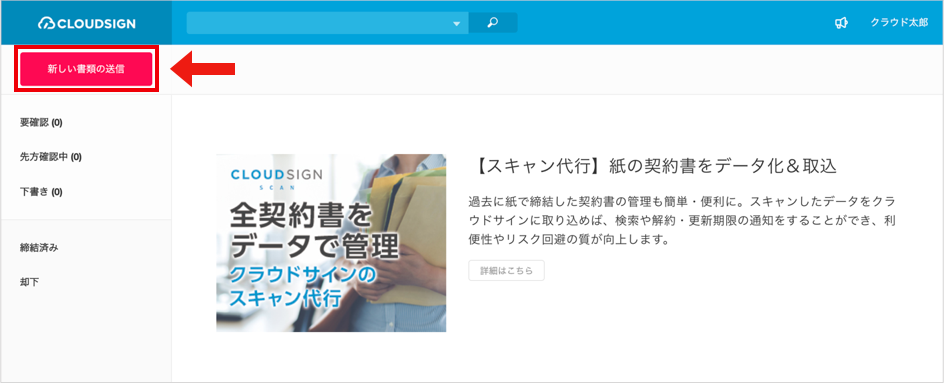
Log into CloudSign and click the [ 新しい書類の送信 (Send new documents) ] button at the top left of the screen.
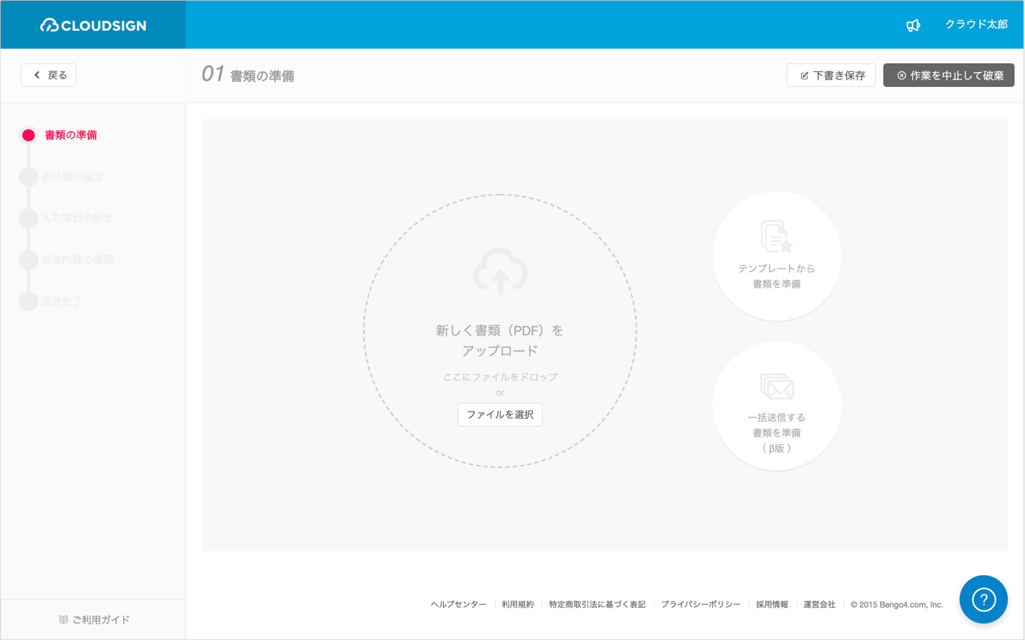
1. Click “新しく書類(PDF)をアップロード (Upload new document (PDF)) ” or “テンプレートから書類を準備 (Prepare document from template) ” to prepare your documents.
-
See here to use a template.
-
The bulk transmission function is available for use with the Paid Plan and above.
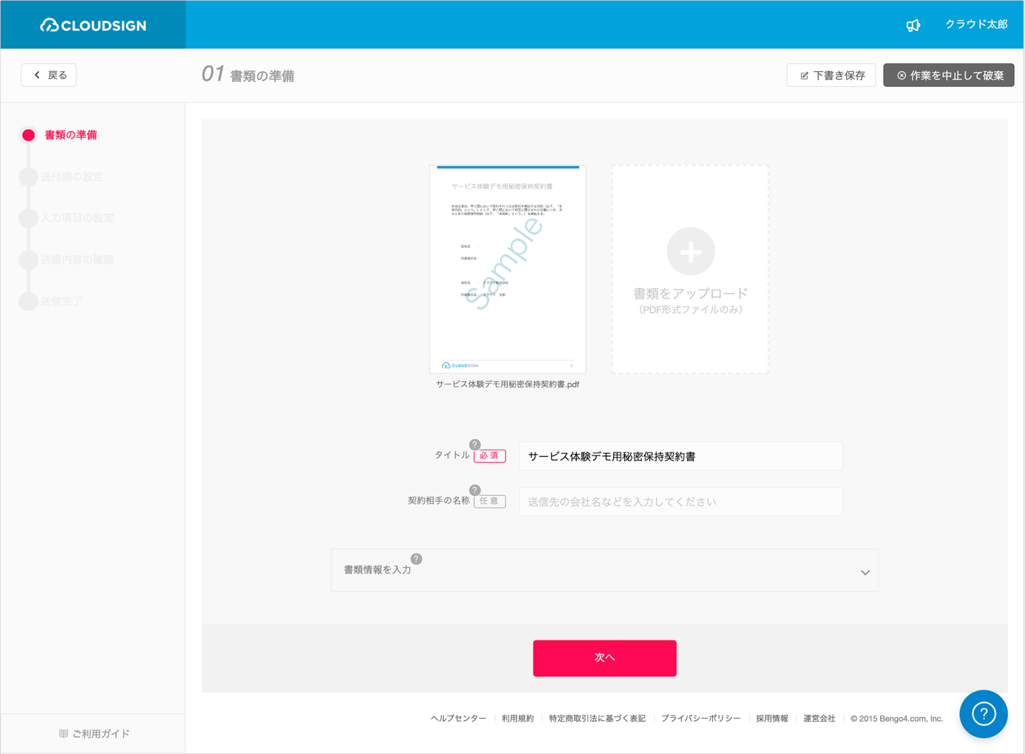
2. Enter the required “タイトル (Title) ” field. Click “次へ (Next) ” to continue.
-
Title: required input. This is also visible to the recipient.
-
Name of other party: optional. This can be used to make document management easier within your company. It is only shared within your team.
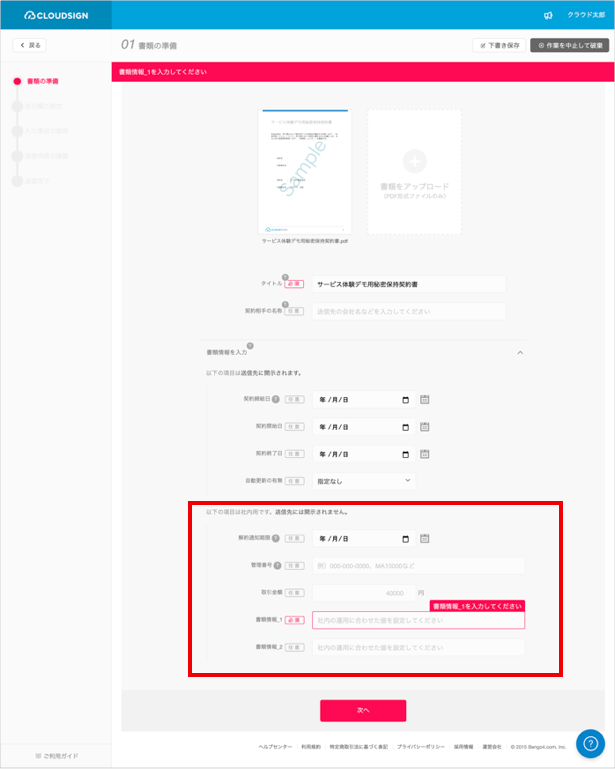
[About entering document information]
-
Optional document information can be entered (Paid plan and above). The contract start date, end date, or other details can be specified to make document management more convenient.
-
If user defined document information is specified as required, the relevant fields must be entered.
-
Trying to save a draft or proceeding to the next step with any required user defined document information fields left empty will result in the error shown below. If this happens, enter the document information and proceed to the next step.
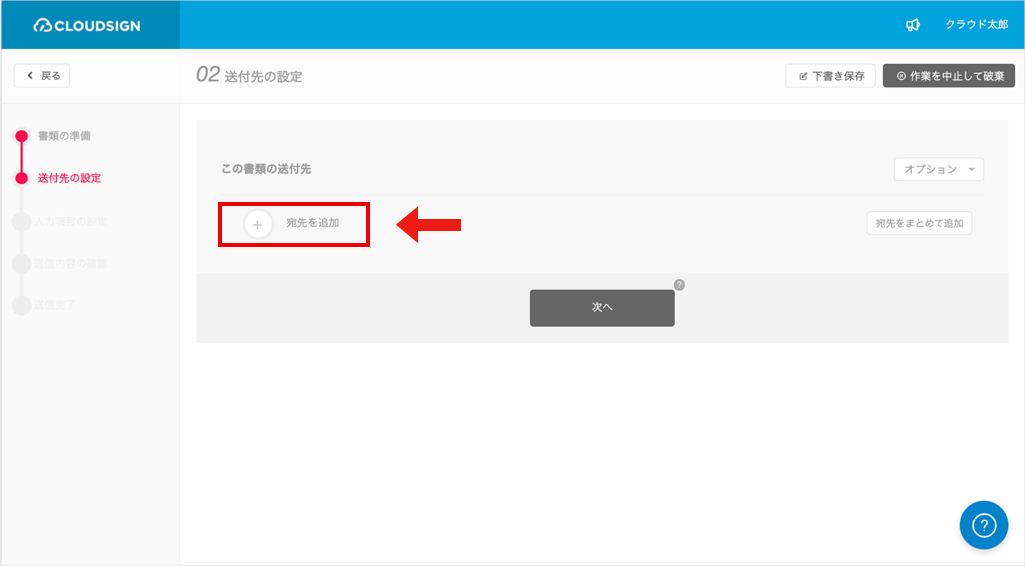
1. Click the “+” (plus) button on the left of “宛先を追加 (Add recipient) ”.
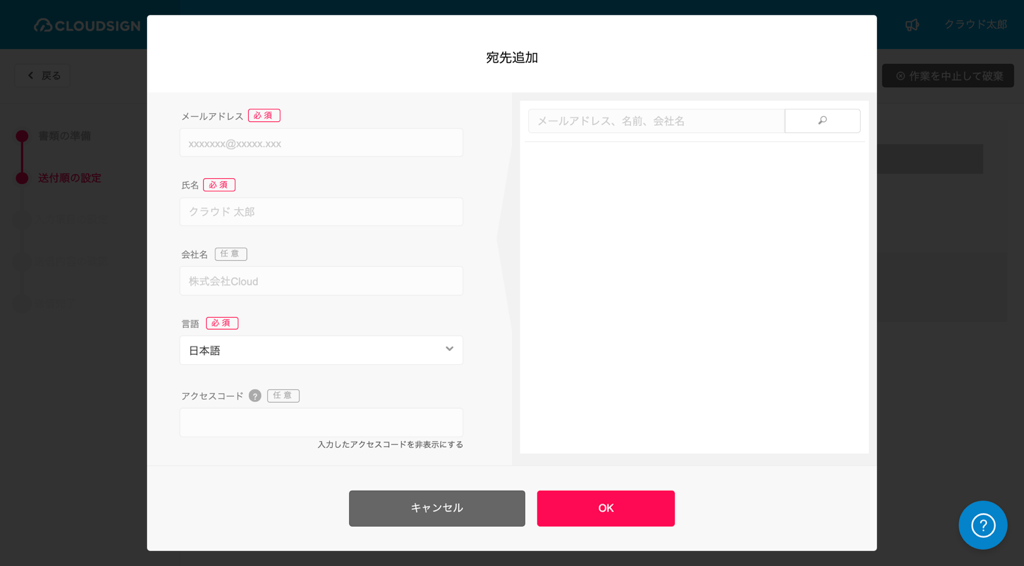
2. Enter the “メールアドレス (Email address)”, “氏名(敬称不要) (Name (no honorific required))” and “会社名 (Company name) ”, and click the “保存 (
Save) ” button.
-
“Mr./Ms.” is added automatically to the confirmation request email.
-
Recipients are not limited only to staff in charge of your business partner, but can also include multiple people such as your own superior or the superior of the business partner staff.
-
Click the “宛先をまとめて追加 (Add multiple recipients) ” button on the right to select recipients from contacts you have saved.
-
See here for how to set access codes.
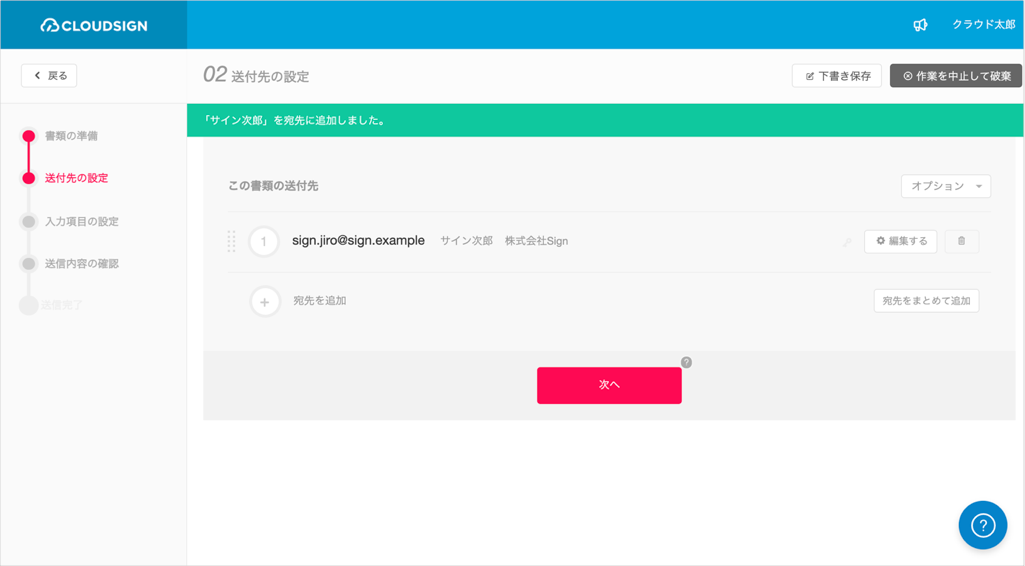
3. Click “次へ (Next) ”.
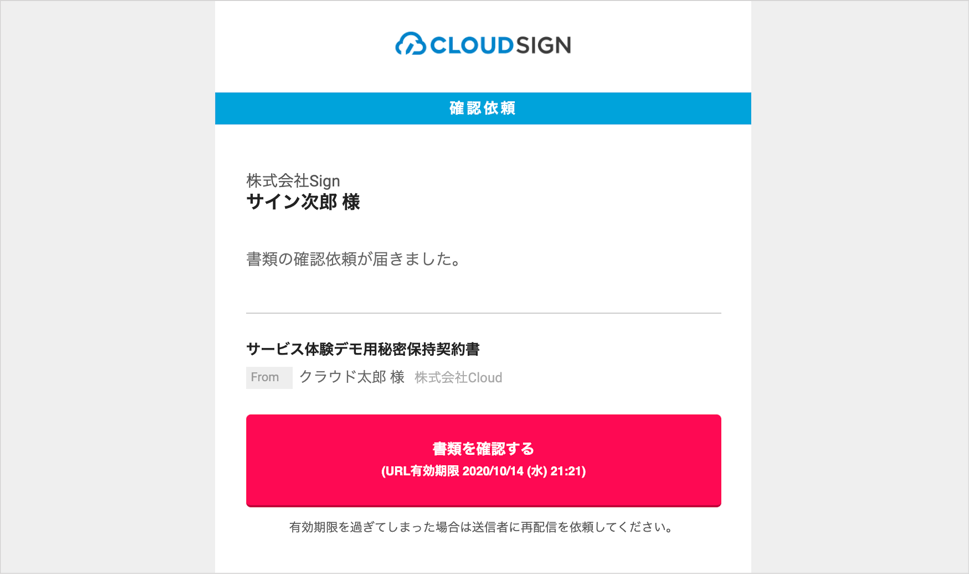
[Sample confirmation request email sent to recipient]
[About the high-level authentication request function]
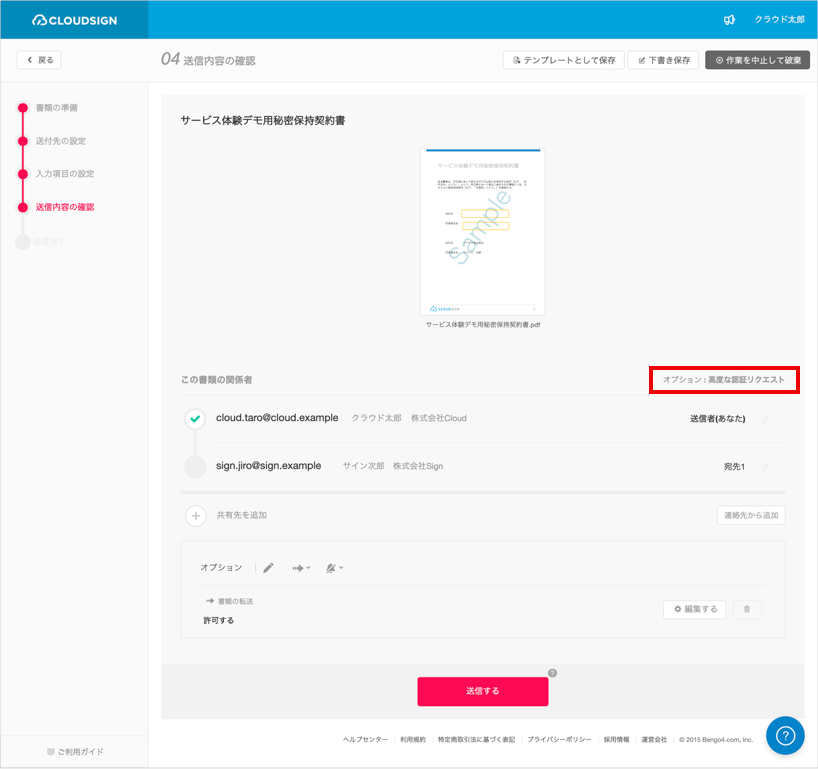
-
See here if you want to send documents using the high-level authentication request function.
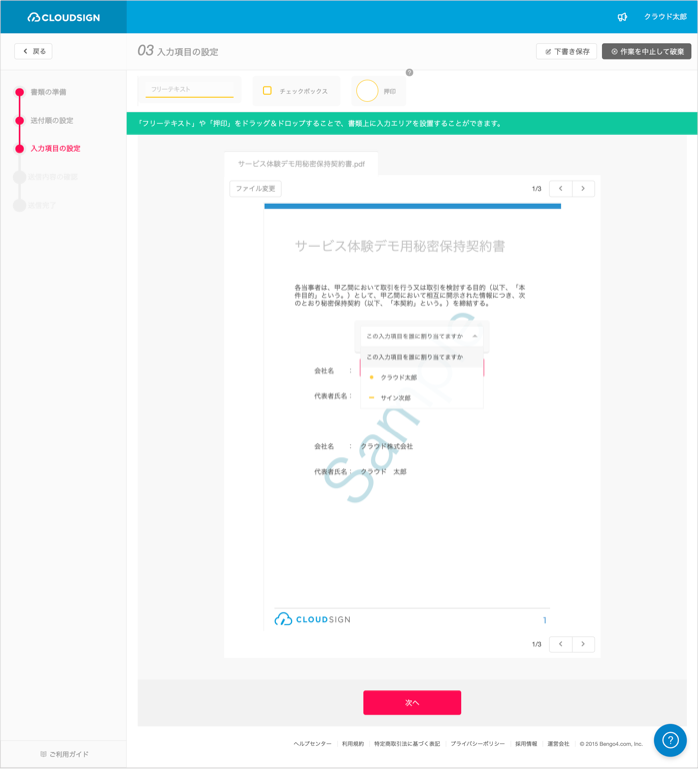
1. Specify any optional input fields.
-
Drag input fields like the “フリーテキスト (text field)”, “押印 (stamp)” or “チェックボックス (checkbox)”, and drop them onto the file.
-
When you drop an input field, the “この入力項目を誰に割り当てますか (Who do you want to assign this input field to?) ” balloon pops up, so select the appropriate recipient. If you select yourself, you can enter details yourself.
See here for a list of tips when specifying input fields.
[Other operations]
Other optional settings can also be configured, so check each article for more details.
[About “押印 (stamps) ”]
-
Specifying “stamps” in CloudSign is optional.
-
With this service, an agreement is successfully concluded when the recipient checks and consents to the files sent by the sender, even without using “stamps” (checked PDFs are applied with an electronic signature that indicates the consent of both parties, and which prevents the documents from being tampered with) The “stamp” is simply a pseudo-stamp that conforms to common business practices, so use it if necessary.
2. When you have completed the settings, click the “次へ (Next) ” button.
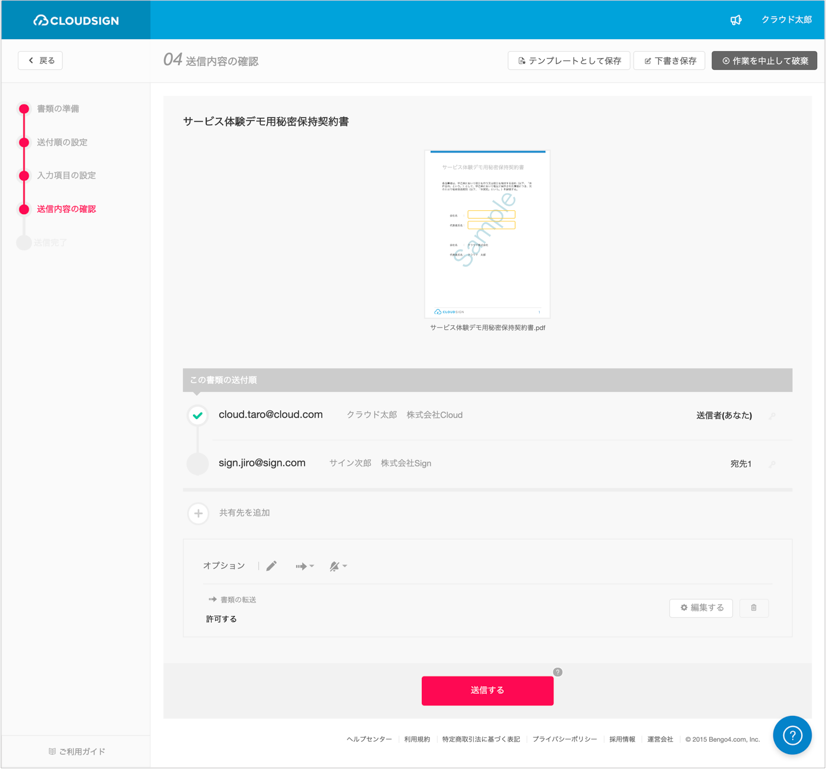
1. Check the details being sent, and if there are no errors, click the “送信する (Send) ” button.
2. A confirmation screen is then displayed, so click the“送信する (Send) ” button again.
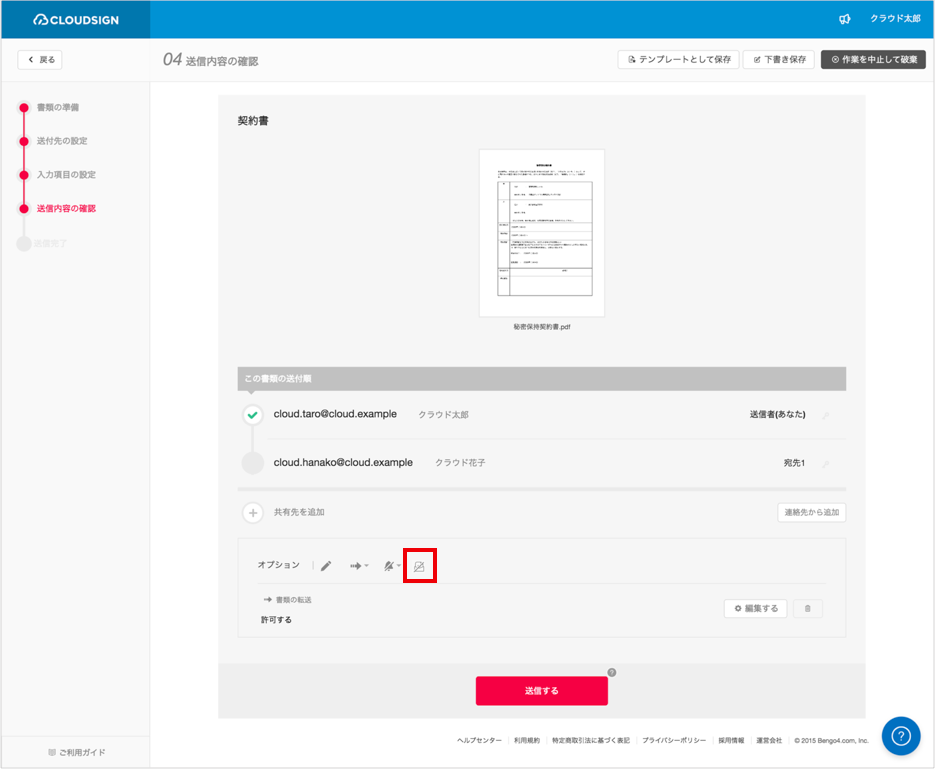
[Sending confidential documents]
-
The “Confidential function” for sending confidential documents is available with the Business Plan.
-
To send created documents as confidential documents, use the optional items at the bottom of the page for settings.
[Steps after sending documents]
-
After sending documents, the recipients will receive a confirmation request email, whereby an URL to access the documents will be generated.
-
An electronic signature that prevents tampering is applied at the same time that the documents are sent. No corrections can be made to documents after they are sent. See here to cancel sent documents.
-
An email notification of "contract signing completion" is sent to the following parties involved at the same time that the agreement is concluded.
-
Document sender
-
Document sender’s team document administrator
-
Document recipient
-
Document recipient’s team document administrator
-
Forwarding/sharing recipients (only if specified)
-
For confidential documents, the following parties will receive the notification of "contract signing completion" email.
-
Confidential document sender
-
Confidential document recipient
-
Confidential document administrator (sender team/recipient team)
-
Forwarding/sharing recipients (only if specified)
[About URL term of validity]
-
All URLs are valid for a period of 10 days from when they are generated. Note that this term of validity will be specified for each recipient.
-
The URL term of validity is listed in the document details.
-
A reminder can be sent after the URL term of validity has expired. Reminders can be sent any number of times at no charge.
Search Keywords
Manual