( 1 ) Click the link provided in the Confirmation Request email you received from CloudSign
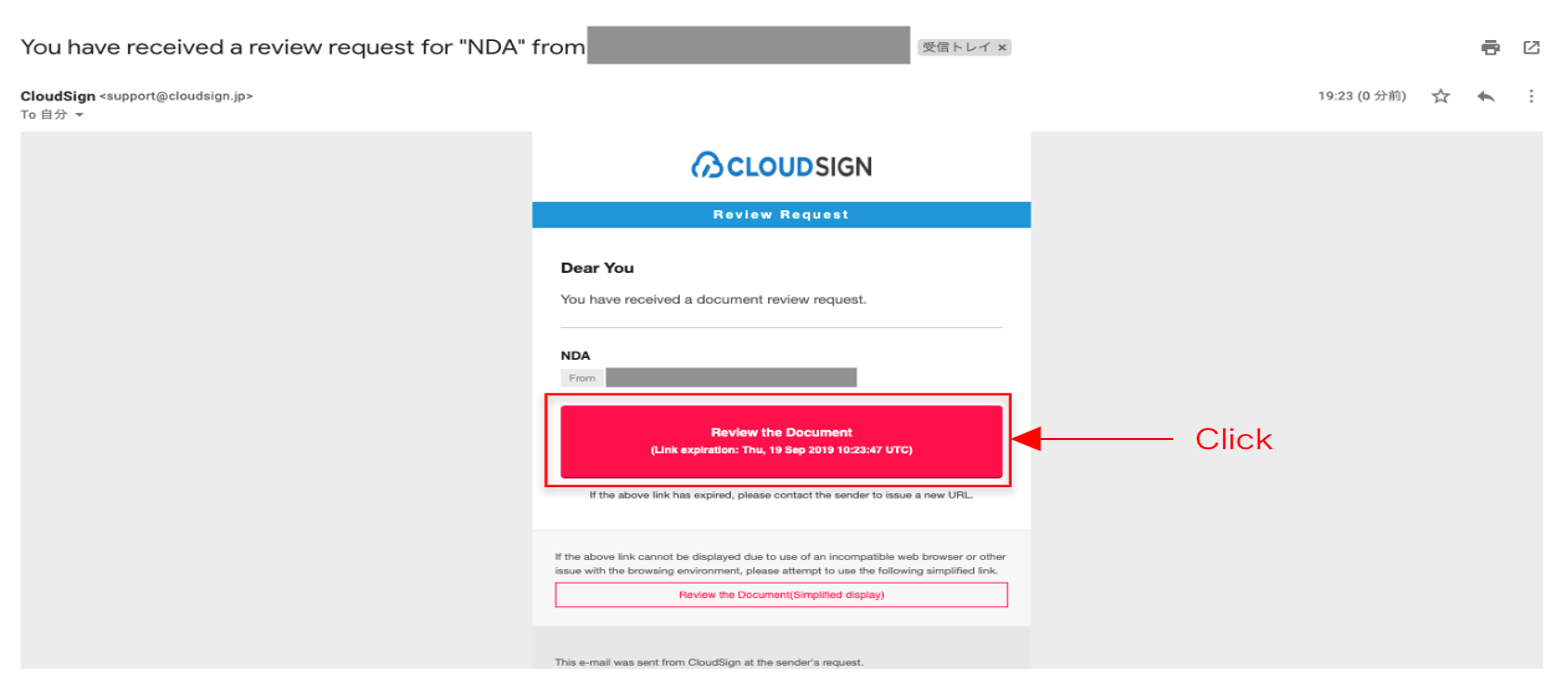
Clicking the link in the email (outlined by the red box above) will open the Document Confirmation window.
• Example Title: “You have received a review request for [XXX Agreement] from Jiro Sign (CloudSign)”
( 2 ) Open the received PDF file
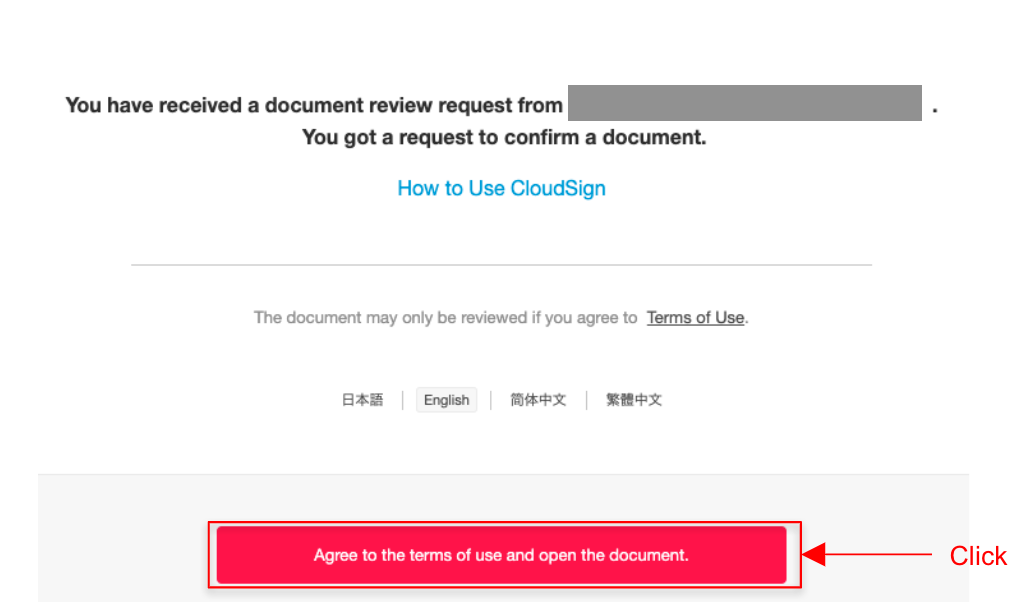
After reviewing the Terms of Use, click the [Agree to Terms of Use and Open Document] button.
( 3 ) Verify the contents of the PDF file and enter the required information
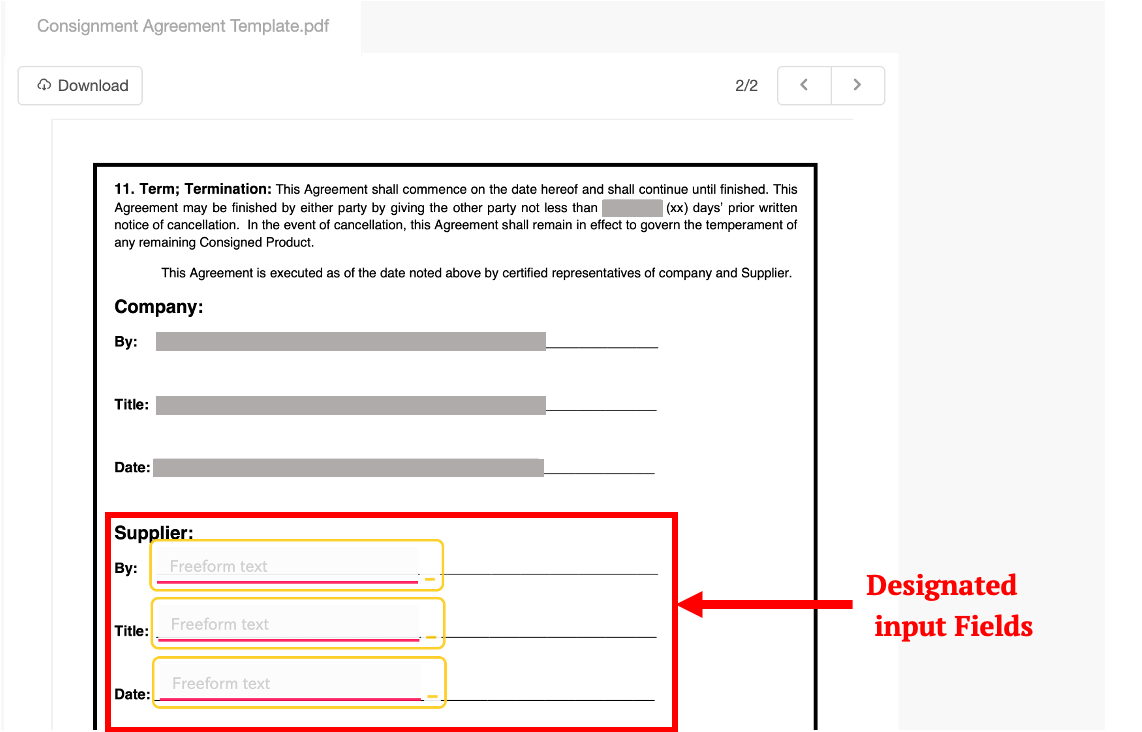
Please open the document and verify the contents thereof. If the sender has requested any input in certain fields, click the Text or Stamp fields and enter the required information.
( 4 ) Click the consent button to confirm the contract
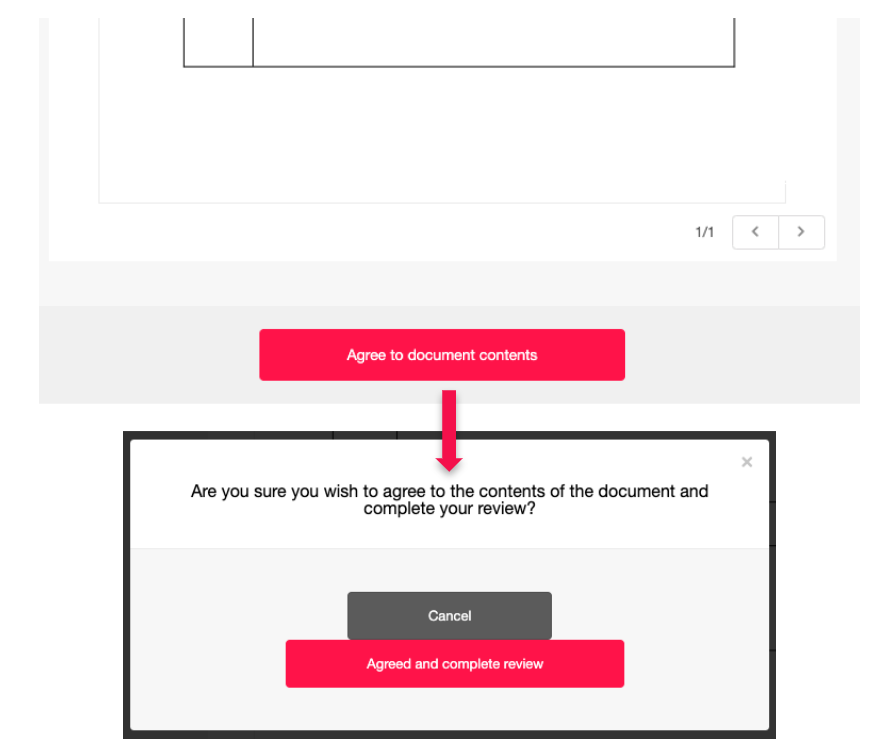
Click the [Consent to this Document] button. When the confirmation pop-up window appears, click the [Consent and Finalize Document] button to consent and finalize the document.
By clicking the button, the contract is confirmed by all parties and a tamper-proof digital signature is applied to the document.
( 5 ) A digital signature is applied to the consented PDF file and a copy is sent to you as an email attachment
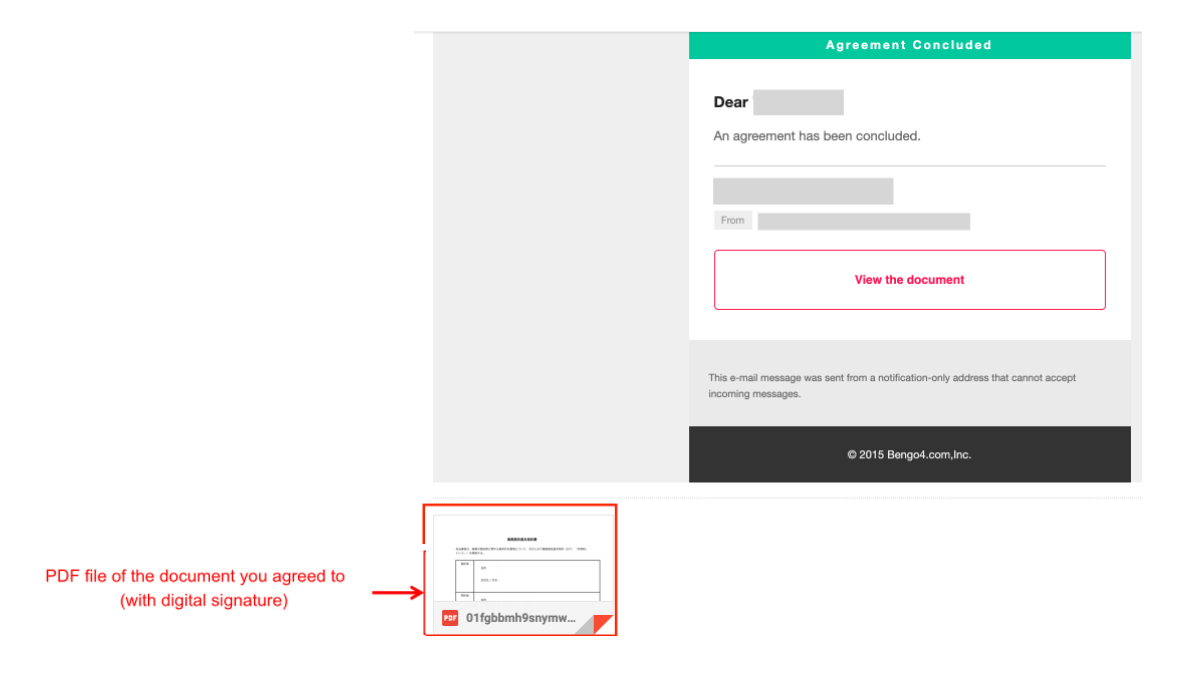
Even if you aren’t registered at CloudSign, you can save the PDF file attached to the email in the above image as your original copy of the contract. By registering as a Registrant, you will get an access to useful features such as document storage and search.
*Please select your preferred language from the options at the bottom of the page