Business Plan,Enterprise Plan, SSO administrator role
With the Business Plan, members can log in using the SSO (Single Sign-on) function.
Use the following method to set SAML for OneLogin.
Contents
Operation method
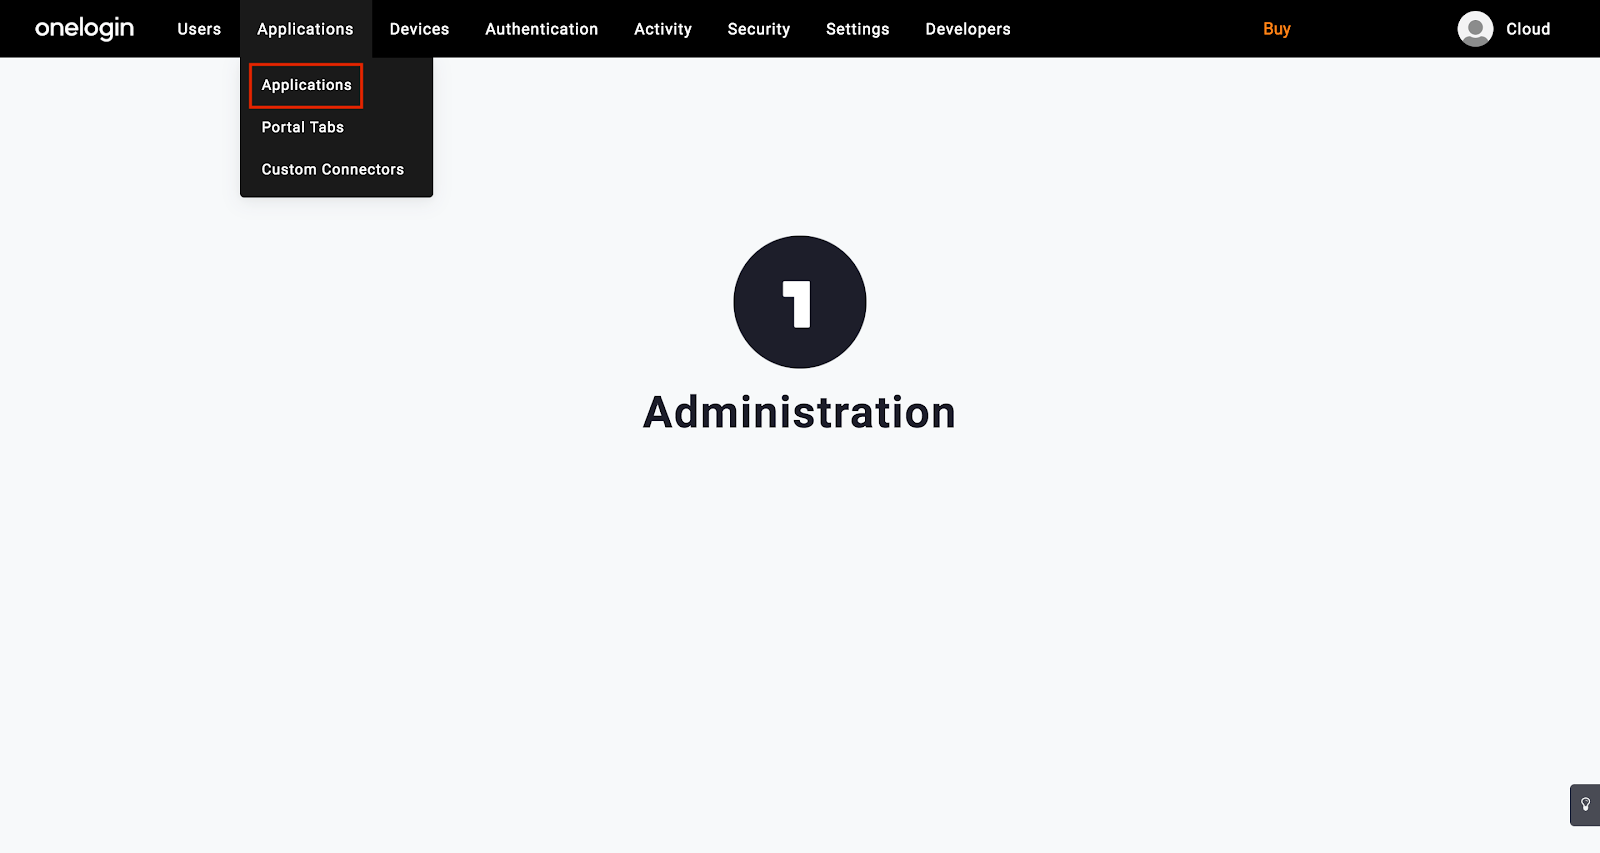
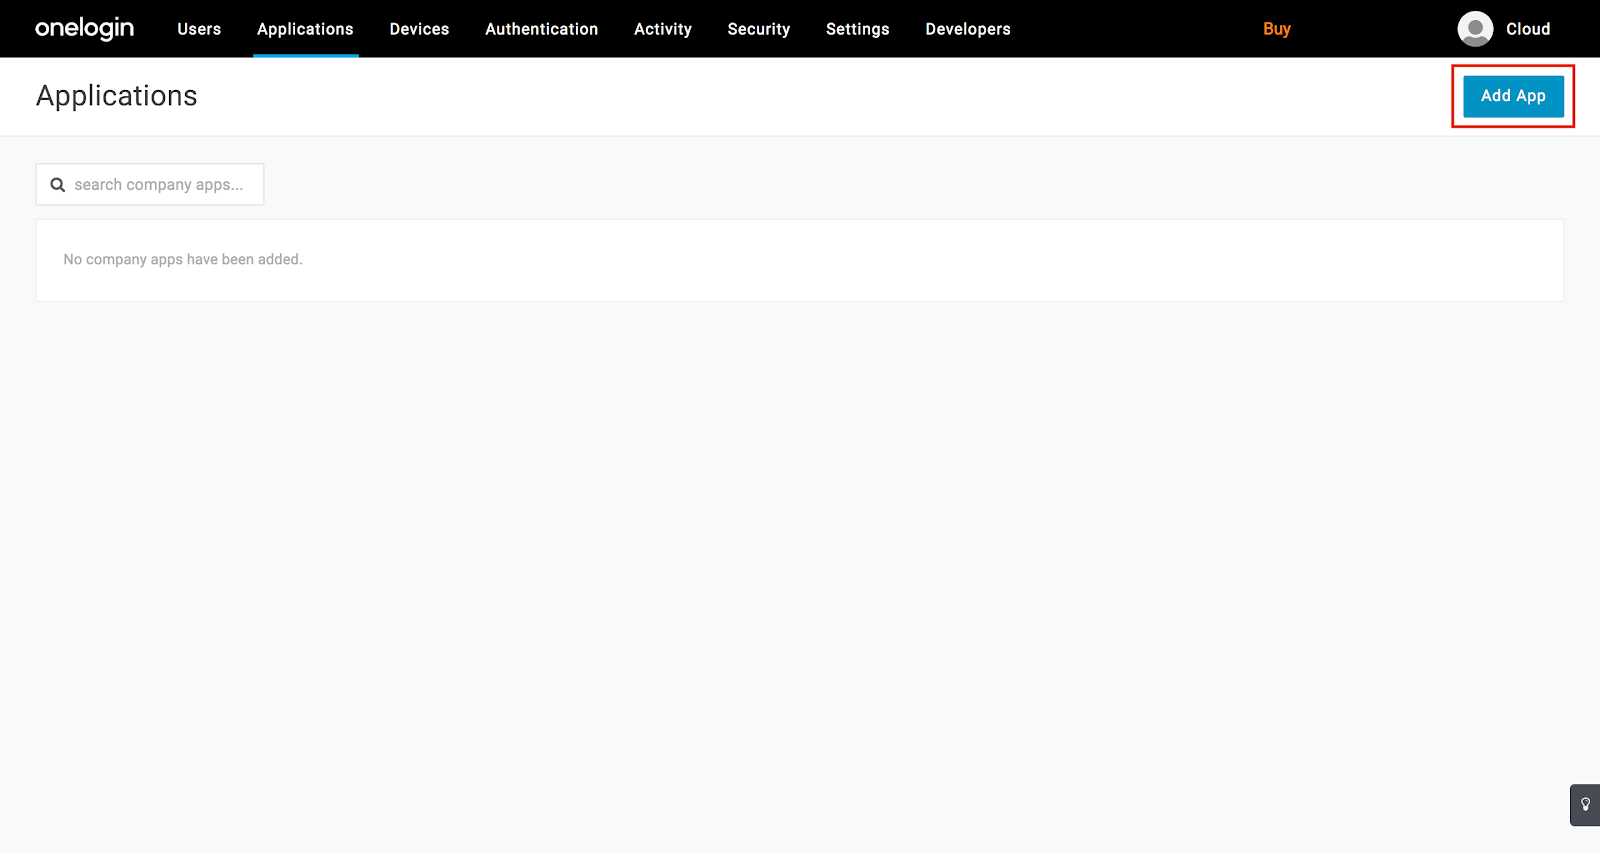
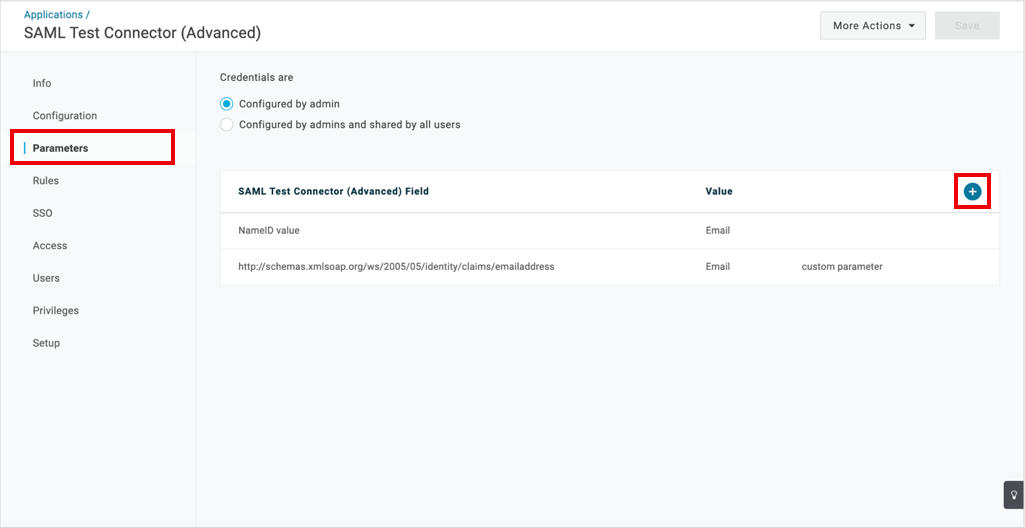
From the Administration screen, click Applications in Applications.
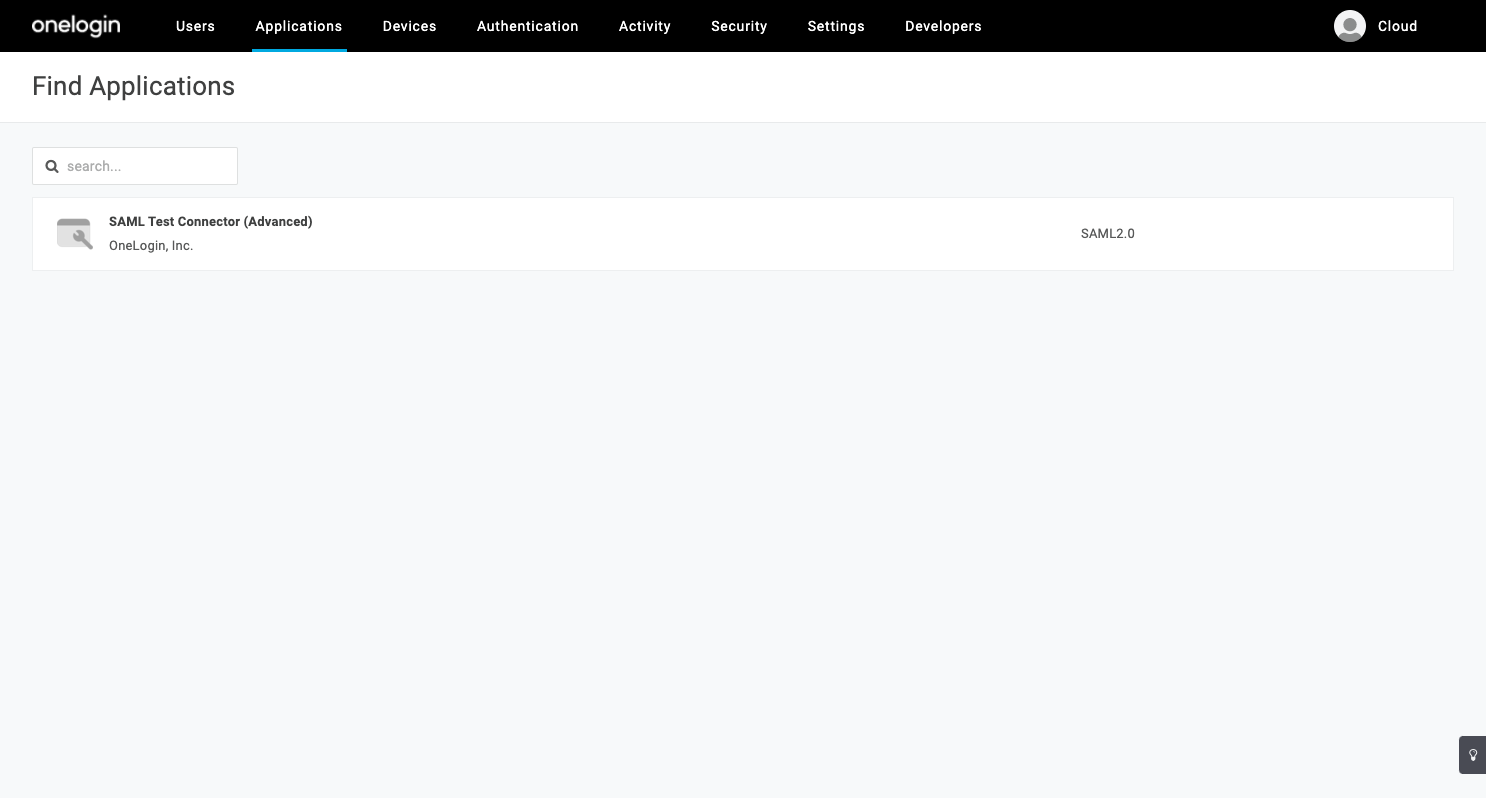
Select SAML Test Connector (Advanced).
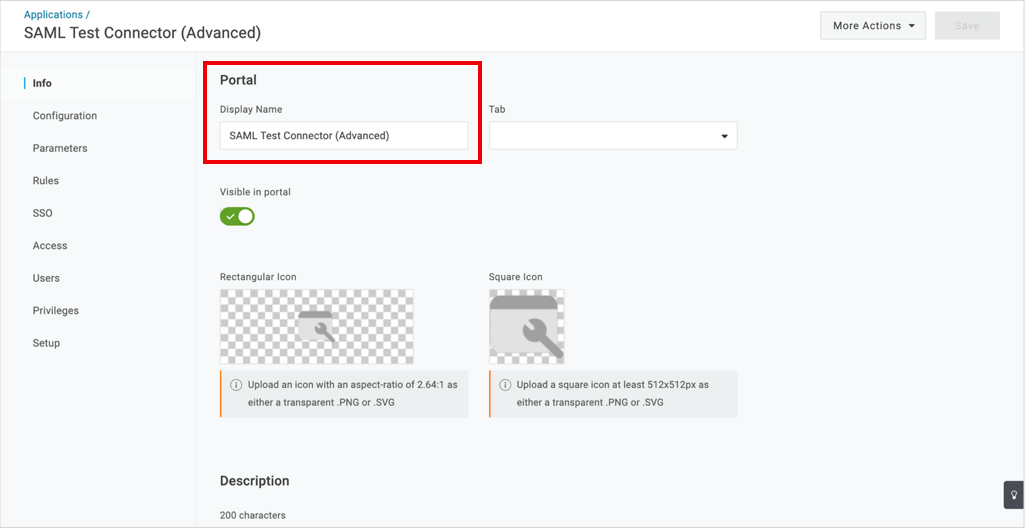
If required, change the name of “Display Name” and save. (Such as changing the name for management purposes)
If no changes are required, save the original name.
Go to Configuration and enter information into each field while referring to the service provider information in the CloudSign “SSO settings screen.”
-
Audience: Enter the Audience information from the “SSO settings screen”
-
ACS (Consumer) URL Validator: Add a ^ to the start of the ACS URL from the “SSO settings screen”and a $ to the end, and replace the . with \. .
-
ACS (Consumer) URL: Enter the ACS URL from the “SSO settings screen”
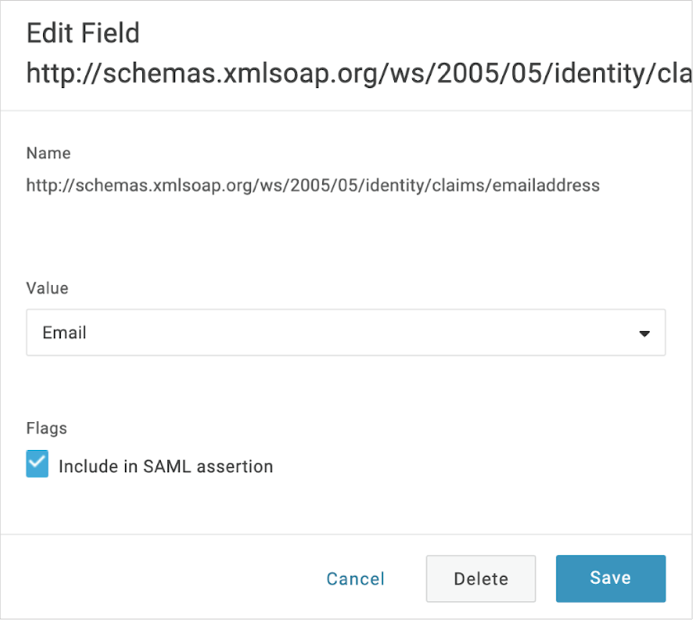
1. Enter the following in the Field Name:.
2. Select the checkbox for Include in SAML assertion of Flags.
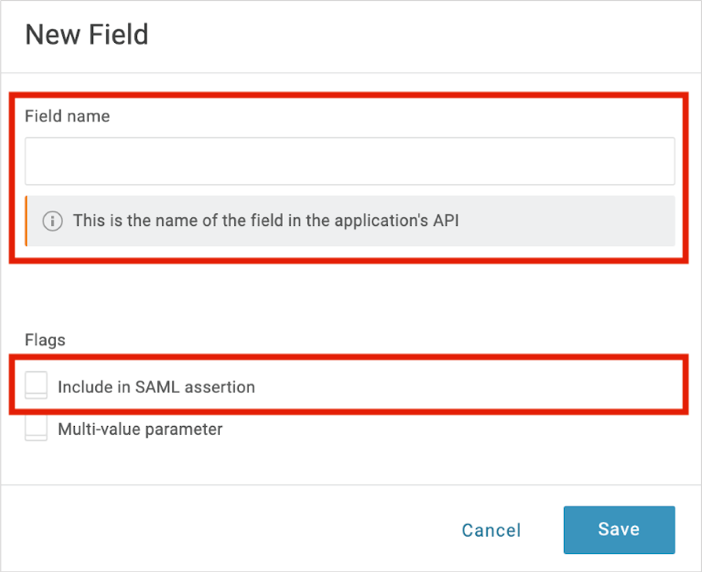
3. Select Email under Value.
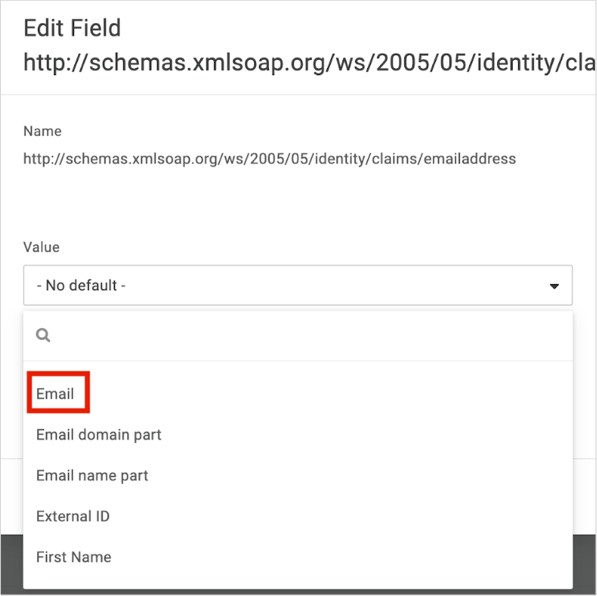
4. Save the information after you have finished entering them.
Download the metadata file, and upload it to the CloudSign SSO settings page.
9. This completes the settings required for OneLogin SAML.
After completing the above steps, refer to “3. CloudSign SSO settings” here, and continue settings in the CloudSign “SSO settings screen.”